’34 Ford Coupe Part X: More Details
We continue to thrash on Bill Evans’ coupe. If you’ve been following the build you know that virtually everything on the car is scratch-built. A number of talented fabricators have been involved in the project over the years, but occasionally we come across a detail that wasn’t thoroughly sorted. The engine cover’s an example. It didn’t bolt up square, plus it had a bit of a twist to it. Here we’ve begun to build up one side to visually flatten it out:

It was also too shallow to effectively enclose the pulleys. We likened it to a gal with a really short skirt – and really ugly knees. Here Gary has added material and has begun lowering her hem:


After the cover was installed we mounted the radiator recovery tank, and discovered the hood wouldn’t quite close over it. A quick section and a notch job and it was good to go.

You’ve seen photos of the rear bulkhead and relays, computers and electrical components mounted on it. Note also that it’s right above the gas tank. We wanted to install a firewall between the two, so Gary fabbed up some double-duty Dzus brackets that locate both the new firewall and the trunk interior tin.


The tank is fitted with an Audi TT flip up gas cap (triggered either remotely by Bill’s key fob or a button in the cabin’s overhead console). Gary fabbed an inside mounting plate that also provides a drain back for the filler cavity. He then machined a set of fillister head screws and Delrin sleeves to complete the installation.


We’ve posted photos of the work that went into these hood sides. They also need a little electrical action to make them fully functional. The car sports four halogen headlights, each surrounded by LED day-runner “halos.” We made up looms that allow for the individual removal and replacement of these components, with plugs that mount to bulkhead connectors on the radiator supports. With these quick-release plugs Bill will be able to get the hood sides off and on his car with no hassle.

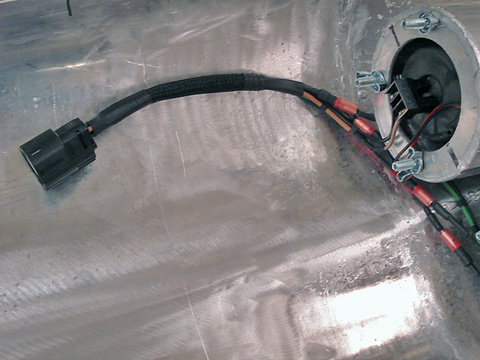

We fabbed up some split grommets to dress up the firewall where the headlight looms pass through…

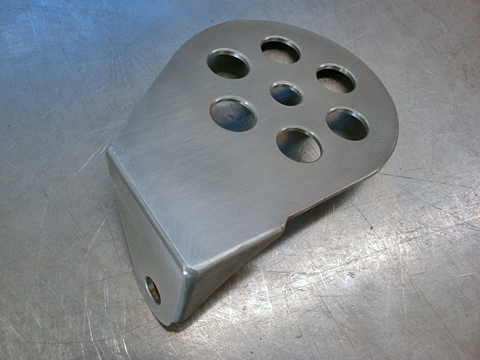
… then fabbed up a horn bracket. There’s not much room in the engine bay, so we designed this bracket to bolt on using the nut at the base of the motor mount.

Finally, we masked the interior, painted all the inner structure, and installed DynaMat sound deadener.

Comments are closed.